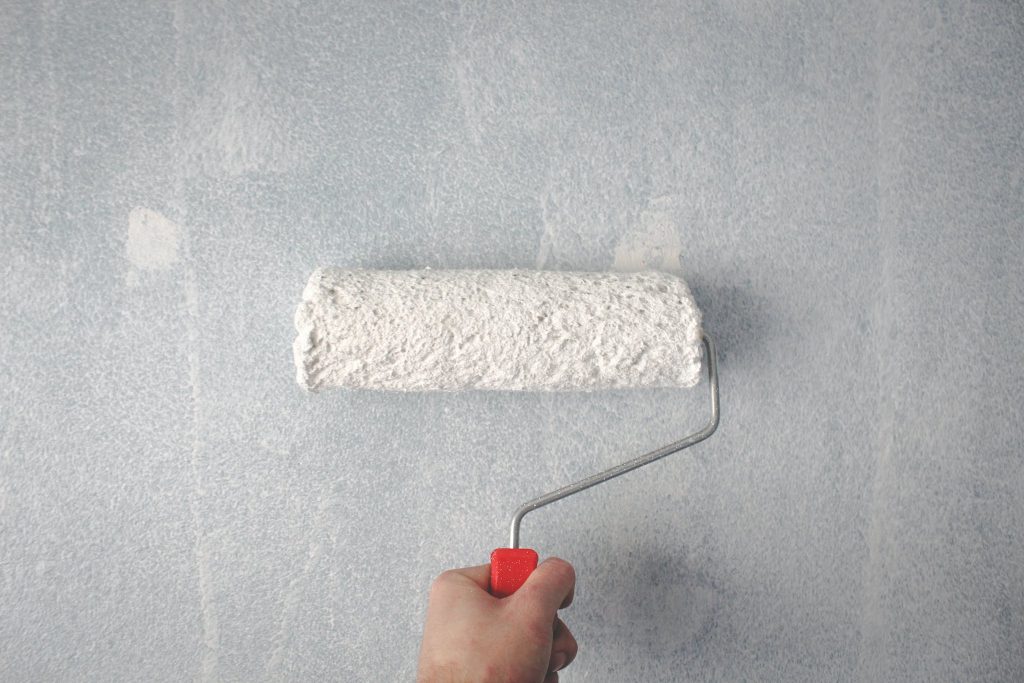
Applying a fresh coat of paint can breathe new life into any room, and it’s a cost-effective way to transform your space. With the right tools, materials, and a well-planned approach, you can achieve professional-quality results in no time. In this guide, we’ll walk you through the essential steps for painting a room, from preparation to completion. Discover the best order to paint a room and valuable tips to ensure your project’s success.
Step 1: Make Room Before you dive into painting, clear the room as much as possible. Move furniture out or toward the center and cover the items that must stay. This creates a spacious and accessible environment for painting the walls and ceiling. Remove pictures, shelving, and decorative items, and take down any hardware or nails from the walls.
Step 2: Take Cover(s) To prepare further, remove switch plate and outlet covers using a screwdriver and store them in a bowl or bag for safekeeping.
Step 3: Repair the Walls Patch any existing holes or cracks, including unused nail holes. Thoroughly clean walls, baseboards, trim, and window ledges to remove dust, debris, and dirt using a lint-free cloth.
Step 4: Tape Off Carefully apply high-quality painter’s tape around windows, trim, wainscoting, and other surfaces you want to protect from paint splatters or seepage.
Step 5: Protect Your Floors Lay clean canvas drop cloths on the floor to shield it from paint drips and spills. Use plastic sheeting or clean drop cloths to protect any remaining furniture or large items.
Step 6: Paint the Ceiling Turn off the room’s power, carefully remove the light fixture cover, and tape off the base. Start by cutting in the ceiling, brushing along the perimeter of the room. Avoid forcing the roller into corners, as it can lead to an uneven paint buildup on the walls. Painting the ceiling first prevents unwanted splatter on the walls or trim and allows you to use the ceiling fixture for added light. For a more even finish, consider using additional natural and artificial light sources during the painting process.
Step 7: Paint the Walls Begin by cutting in your paint along the ceiling and trim using a brush, then move on to using a roller. Focus on one wall at a time, as this approach prevents boredom and keeps the cut paint wet for easier blending.
Additional Tips: Now that you know the best order to paint a room, here are some additional tips to ensure a successful project:
- Invest in high-quality paint and use ceiling paint on the ceilings, as it is thicker and provides better adhesion with less mess.
- Allow ample time for the paint to dry before replacing outlet covers, shelving, and artwork.
- Take your time to avoid rushing the paint job, as haste can result in visible imperfections.
- Consider custom shelving to enhance the look of your freshly painted room.
- For professional results with less effort, think about hiring the experts at Five Star Painting to complete your project, leaving you more time for the things you love.
By following these steps and tips, you can achieve a beautifully painted room with minimal stress and maximum satisfaction.
Need help with your interior painting job? Leave it to the pros and schedule an estimate today.
