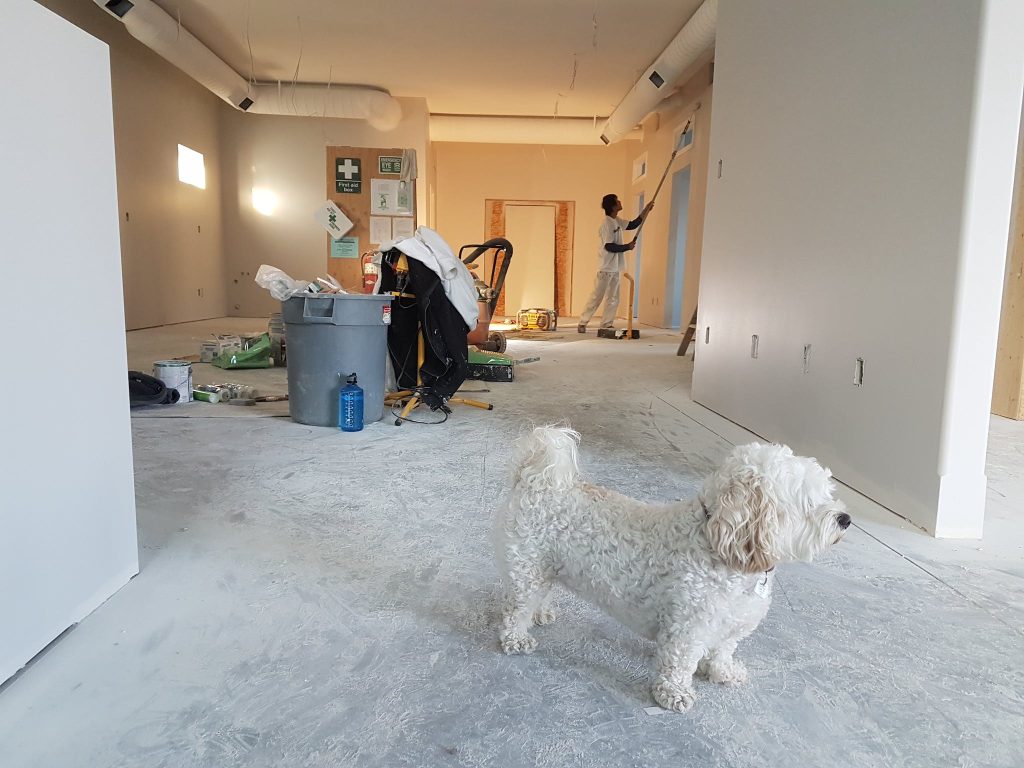
If you’ve decided it’s time to infuse new life and color into your kitchen or bathroom, the first step is to give your walls a thorough cleaning. Cleaning your walls before painting might seem like a chore, but it’s an essential step that enhances paint adhesion and ensures a durable and long-lasting finish. The best approach for preparing your walls for painting depends on the condition of the surface. In this guide, we’ll walk you through how to clean your walls effectively before you start your painting project.
How to Clean Walls Before Painting: Cleaning your walls before painting is a crucial task that can make a significant difference in the final result. Here are five tips to help you prepare your walls for a flawless paint job:
- Give It a Good Basic Scrub: In many cases, a simple solution of warm water and a sponge is sufficient to make your walls paint-ready. Scrub the wall surface, paying close attention to corners and hard-to-reach areas. To tackle scuffs and smears, add a grease-cutting detergent to the water. Afterward, wipe the surface clean with a damp towel and allow it to dry completely before starting the painting process. This cost-effective cleaning method works well when adding a fresh coat of paint to an already-painted space.
- Remove Mold and Mildew: If you’re dealing with residual mildew or mold, especially in areas like bathrooms or basements, use a solution of three parts water to one part bleach. Skipping this step may allow untreated mildew to reappear through the new coat of paint.
- A Chemical Clean: For more extensive renovations, when the walls have been exposed to particles, chemicals, and various forms of soiling, a thorough cleaning is essential. In such cases, use a commercial cleaner like Trisodium Phosphate (TSP) for a deep clean. TSP effectively removes dirt, grime, scuffs, soot, and other forms of soiling, ensuring your walls are as spotless as possible. While this process may cost a bit more, it provides an optimal surface for painting.
- Sanding for a Smooth Finish: If you’re working with an older surface or one with chipping paint, it’s crucial to address rough or uneven spots. Use fine-grain sandpaper and a sanding block to smooth out any imperfections and then wipe away the dust with a clean rag. A smooth surface ensures better paint adhesion.
- Exterior Preparation: For exterior wall painting, you have two options for cleaning. The first is to employ a power washer, which is less labor-intensive. It effectively removes dirt, mildew, and grime but may miss finer details and could potentially damage siding if not used carefully. The alternative method is hand scrubbing with a TSP solution, which ensures a spotless surface but demands more time and effort.
Products for Painting Prep: Here’s a list of products, from least intensive to most intensive, to help you prepare your walls for painting:
- Warm water and a sponge
- Warm water and a sponge with added detergent
- Bleach solution for mildew (3-parts water, 1-part bleach)
- TSP or chemical cleaner
- Power washer (for exterior siding/walls)
While cleaning your walls before painting may seem like a chore, it’s a crucial step that significantly contributes to the quality and longevity of your paint job. A well-prepped surface ensures that paint adheres correctly, reducing the likelihood of future touch-ups. So, don’t skip the cleaning phase, and enjoy the vibrant and fresh look of your newly painted walls.
If you’d prefer to bypass this whole cleaning and painting ordeal altogether, put it in the hands of a professional! Contact us today to get started.
